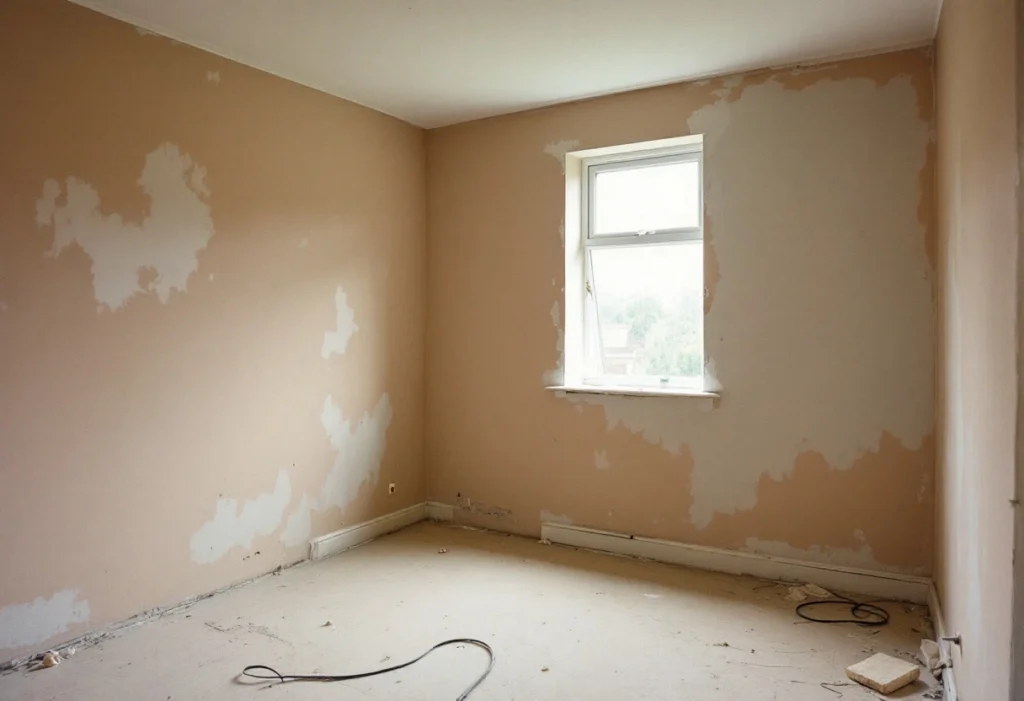
New plaster can look finished the day it goes on, but it still holds much of the water it was mixed with. That water has to leave before the wall is painted, papered or tiled.
This guide explains setting and drying, what controls the time, how to look after the room, when to paint, and which cracks and damp patches need attention. Plastering can be booked as a standalone job through our plastering service, and the decorating through painting and decorating. The advice here applies whoever did the work.
What happens as new plaster dries?
Plaster goes through two stages. First it sets, as the wet mix hardens. British Gypsum gives a set time of at least 90 minutes for its Thistle MultiFinish skim plaster[1]. Its instructions put the final trowel at around 120 minutes after mixing, and note that finishing times are extended by cold weather[2]. Then it dries, as the rest of the water leaves the wall. That takes far longer, and the data sheet gives no fixed figure for it. The rule is that the plaster must be thoroughly dry before decorating[1].
The usual sign to watch is colour. Fresh plaster looks darker and turns lighter as it dries. A wall is close to ready when the colour is light and even all over. Darker patches are still wet. Colour is a guide, not a test.
What affects how long plaster takes to dry?
Five things set the time. Each is something you can see or control:
Thickness. Finish plasters are usually put on about 2 mm thick and undercoats about 11 mm. The real figure depends on how uneven the wall is[3]. A thicker coat holds more water, so a skim over plasterboard has less to lose than a full re-plaster with an undercoat.
Background. What the plaster goes on matters. British Gypsum says cement-based undercoats need a much longer drying allowance than gypsum-based ones[4].
Temperature. Cold slows everything. Most Thistle plasters should only go on where the temperature will stay at 2 °C or above until dry, and cold conditions extend drying and setting times[5].
Season. Winter rooms are colder and stay shut, so drying is slower. Hot weather brings the opposite risk: setting times may be reduced, and the face of the plaster can dry too fast[6].
Ventilation. The water leaving the wall goes into the room air. If it cannot get out, it settles on cold surfaces. RICS lists poor ventilation, and not heating a home enough, among the causes of condensation[10].
From fresh plaster to decoration
| Stage | What is happening | What to do | What the guidance says |
|---|---|---|---|
| Setting | The mix hardens and is trowelled to a finish | Leave it alone; keep heaters off it and, in hot weather, windows shut | Set time of at least 90 minutes for Thistle MultiFinish[1]; warm air drying the face can cause crazing[6] |
| Drying out | The rest of the water leaves the wall and the colour lightens | Steady background heat and regular airing | Cold conditions extend drying times[5] |
| First coat of paint | Some moisture may still be in the plaster | A permeable paint, made up as the paint maker says | A coat of permeable paint can go on before the plaster is thoroughly dry[1] |
| Full decoration | The plaster is dry right through | Paint or paper as the maker of the finish recommends | Thoroughly dry before decorating[1] |
| Tiling | Gypsum plaster has cured and dried | Tile only once it is cured, dry, flush and plumb | At least 4 weeks' curing for gypsum plaster[8] |
Scroll sideways to see all columns
How to look after new plaster, step by step
1. Leave it alone while it sets
For the first few hours, the plaster needs its water. British Gypsum warns that in hot or dry conditions plaster must not lose water too quickly, because it needs some of the mixing water to set and reach full strength[1]. In hot weather its advice is to keep windows shut, so warm air does not dry the face of the plaster and cause crazing[6]. Keep heaters and fans off the wall at this stage.
2. Air the room once it has set
After it has set, the water has to leave. Open the windows for short spells and keep internal doors open where you can. Avoid drying washing in the room: RICS lists drying clothes over radiators among the causes of condensation[10].
3. Use steady heat, not forced heat
Heat helps once the plaster has set, as long as it is gentle and even. A fan heater pointed at fresh plaster dries the surface faster than the plaster behind it, the condition British Gypsum links to crazing[6]. Used before the plaster has set, it also takes water the plaster still needs to gain strength[1]. Once fully set and dry, Thistle plasters should not be exposed to temperatures above 49 °C[1].
4. Check that it is dry
Look at the whole wall in daylight, corners and the bottom of the wall included. The colour should be light and even. Patched holes and thicker areas can take longer. A patch that stays dark while the rest has lightened is either still wet or getting wet from somewhere else.
5. Put on the first coat
The first coat of paint on new plaster is often called a mist coat. What goes into it, and which paint to use, is set by the paint maker's instructions, so read the tin or the data sheet first. British Gypsum says Thistle plasters must be thoroughly dry before decorating, though a coat of permeable paint can go on in the meantime[1]. Its advice on primers is to follow the maker's dilution guidance and avoid creating a glossy, non-porous film[7]. Both point the same way: moisture still in the wall must be able to get out.
6. Decorate fully, or tile
Full decoration waits until the plaster is dry right through. British Gypsum lists moisture left in the skim, and painting too early so that moisture is trapped, among the causes of plaster coming away after painting[7]. For tiles, The Tile Association advises that gypsum plaster should cure for at least 4 weeks, be dry, and have a flush and plumb finish before tiling[8].
Hairline cracks or a problem: when to worry
Some cracking can come with drying. Cement-based undercoats shrink as they dry, usually with some cracking, which can appear several days or even weeks after the work[4]. A finish plaster put on before that shrinkage is complete is more likely to crack or come away[1]. In its guide to subsidence, RICS says there is rarely any cause for real concern unless cracks appear suddenly and are more than 3 mm wide[9].
Get the wall looked at if you see any of these:
Cracks that keep growing, appear suddenly or are wider than 3 mm. RICS lists new or expanding cracks in plasterwork among the signs of possible ground movement. Cracks may need to be monitored, sometimes for 12 months or longer, and if you cannot find a reason, its advice is to get specialist help[9]. Mark the ends of a crack in pencil, date it and take a photo.
Damp patches that do not dry. RICS advises looking into any part of a home that is not dry to the touch, has mould or smells musty. It lists leaking gutters and rainwater pipes, roof defects and cracked external render among the sources of water[10]. Plaster that is wet repeatedly or for long periods can lose strength and adhesion[1].
Plaster coming away. Plaster that lifts off with the paint, or sounds hollow when tapped, has lost its bond. British Gypsum's causes include poor adhesion to the wall behind, moisture left in the skim, primers made up or applied wrongly, and painting too early. Its approach starts with tapping for hollow areas and cutting back to sound plaster[7].
If the plastering was part of a building job, note anything like this with dates and photos. Raise it through snagging and aftercare rather than decorating over it.
What you should end up with
A wall or ceiling that is light and even in colour and takes its first coat without lifting or flaking. Fine drying cracks are filled before the top coats, and nothing changes in the months that follow. If something does change, you have the dates and photos to show it.