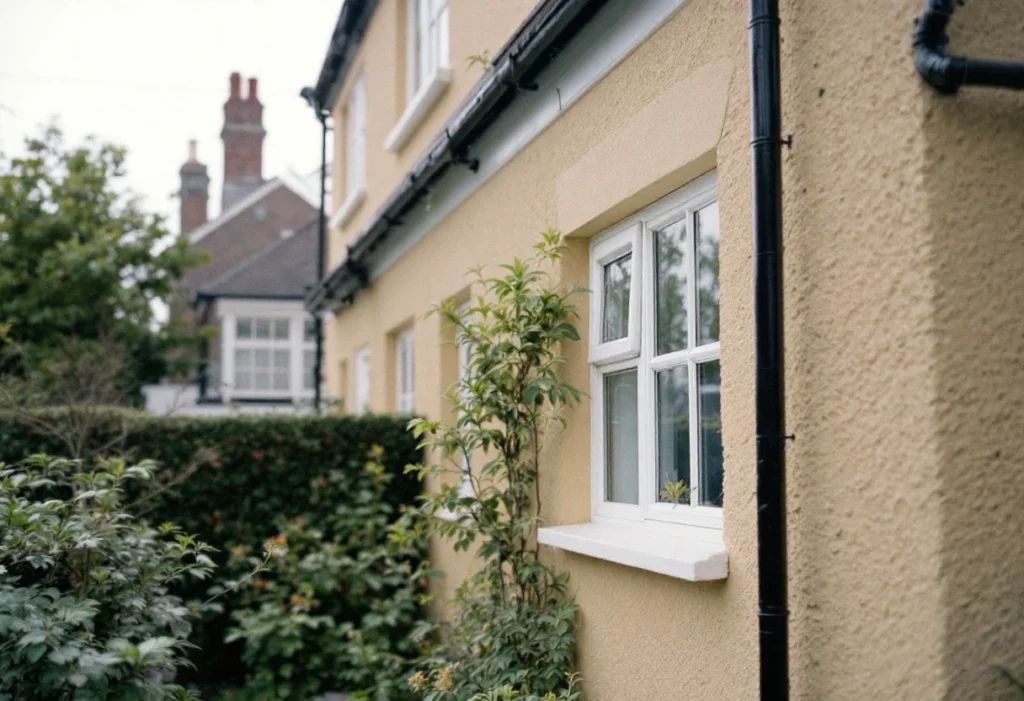
Render is the weather skin of a wall. External renders are susceptible to cracking, which lets damp into the wall behind[1]. Most upkeep is therefore about water: keeping it off the surface and stopping it at cracks and edges. Historic England notes that maintaining render can be quite onerous[1], but much of it is looking rather than working.
This guide explains what sets the life of a rendered wall, and gives a routine of checks, cleaning, repainting and repair for render by any installer. When the wall needs more than maintenance, see our rendering service.
What sets how long render lasts?
This guide gives no single figure, because the life of a render depends on the wall as much as on the render. Four things set it.
The system, and whether it suits the wall. Early renders were lime-based mixes, usually applied in two or three coats[1]. Walls of traditional construction manage moisture by absorbing and releasing it slowly[5]. On such a wall, an earlier repair in an impermeable material, such as a cement mortar, may cause damage by trapping moisture[4]. For a modern system, see the manufacturer's literature.
The detailing at edges and openings. Sills, copings, flashings and other weathering details throw water clear of the wall. Green staining or algae below one can mean it is failing[2].
Exposure. A wall facing the prevailing weather, or one that stays damp in shade, is wet for longer. A damp wall can suffer further damage from frost and changes in temperature[4].
Upkeep. Leaking gutters or drainpipes are often the cause of damp walls[4]. A render kept dry, with cracks dealt with early, has the best chance of a long life.
Render care at a glance
| Task | When | What to look for | Who |
|---|---|---|---|
| Inspect the walls | Routinely, normally twice a year[3] | Cracks, crumbling, erosion, green staining or algae[2]; loose or bulging patches | You, from the ground; binoculars for high areas[2] |
| Check gutters and downpipes | After heavy leaf fall, at least every autumn[2] | Blockages, leaking joints, staining or algae on the wall behind the pipe[2] | Above ground floor: someone with suitable access equipment |
| Clean | When staining appears, once its cause is fixed | The water source behind any green growth | As the system's maintenance instructions say |
| Repaint | When the paint has worn, faded or flaked | Old paintwork that may contain lead[7] | Above ground floor: a decorator with suitable access |
| Repair cracks | As soon as a crack is found | Cracks that let water in, reopen or keep growing[6] | Fine low cracks: you; larger faults: a rendering contractor |
Scroll sideways to see all columns
Looking after render, step by step
1. Keep a record of what is on the walls
Note the render system or mix, any paint, the date of the work and the manufacturer's instructions. Check, too, whether the house is listed or in a conservation area. A listed building needs listed building consent for any significant works. In a conservation area, planning permission is needed before cladding a house with render, pebble dash, stone, timber, plastic or tiles[8].
2. Inspect from the ground twice a year
Historic England advises routine inspections, normally twice a year[3]. Look for cracks, crumbling and deep erosion, and for green staining, algae or plants that point to a drainage or weathering fault[2]. Use binoculars for high areas rather than a ladder[2]. Look also for:
- Loose render. Patches that bulge, sound hollow when tapped at low level, or have come away from the wall.
- Open joints. Splits in the seal where window and door frames meet the render.
A wet base. Green staining or plants at the foot of the wall, which can point to drainage or ground water problems[2].
Photograph anything you find, with the date, so the next check shows whether it has changed.
3. Keep water off the render
Gutters and drains that are kept clear of debris, and are large enough for the rainfall, have little chance of overflowing onto the walls[4]. Clear them after heavy leaf fall, at least every autumn. Check for leaking joints, for cracks on the back of pipes, and for staining or algae on the wall behind them[2].
Gutters above ground-floor level are work at height. Historic England's advice is to use a ladder only to gain access, not as a working platform[7]. Have high gutters cleared and repaired by someone with suitable access equipment.
4. Clean gently, once the cause is fixed
Green staining or algae can point to a fault in the drainage or weathering details[2]. Find the source first, such as a leaking gutter or a failed sill, or the wall stays wet. The right products, methods and any limit on water pressure depend on the render system, so follow its maintenance instructions. Where there are none, ask the system manufacturer or a rendering contractor before using chemicals or a pressure washer.
5. Repaint with a paint that suits the wall
Painting a house needs no planning permission[8], and redecorating an existing wall would not normally need Building Regulations approval[10]. The choice of paint matters more. On a house built with traditional materials, a modern product may cause damage by trapping moisture[5]. For a modern coloured render, check the manufacturer's instructions before painting it at all.
Paints containing lead were common until the 1960s, so Historic England advises assuming that paintwork from before then contains some. Cover such paint with another coating or have it removed safely[7]. Painting above ground-floor level is work at height, so leave it to a decorator with suitable access.
6. Deal with cracks at the right level
A fine crack at low level can be filled and painted with a product made for that render. Repair materials should match the original in physical properties as well as looks, so that they age the same way[5]. Call in a contractor when:
- Water can get in. A crack lets rain into the wall, or reopens after filling.
- The render has come away. An area is loose, bulging or sounds hollow.
- The fault is high up. Anything above ground-floor level needs proper access.
The damp has no clear cause. If your own checks do not find the source, get professional advice[4].
Older houses can tolerate a degree of movement, so a crack is not always a cause for concern. Movement matters when it is ongoing and threatens the use or safety of the structure. A structural engineer familiar with old buildings should then inspect it. Causes include leaking drains, rainwater pipes discharging onto the ground, and clay soils near large trees[6].
When re-rendering is due: windows and roofline
When a render reaches the end of its life, plan the work around it too. Re-rendering can bring in the Building Regulations, depending on the extent of the work[9]. External walls are thermal elements, and renovating one is likely to trigger a requirement to upgrade its insulation[10].
Windows are the main reason to plan ahead. Taking out a frame disturbs the render around the opening, so windows changed after a re-render mean patches in new render. If the windows are near the end of their life, replacing the windows at the same time lets the reveals and sills be finished once, around the new frames. Replacement windows are controlled fittings under the Building Regulations. You should receive a certificate from a registered installer or from the building control body that approved the work[11].
The roofline works the same way. Gutters, downpipes and fascias sit above the render, and leaking gutters are often the cause of damp walls[4]. Have them put right before new render goes on. Window replacement and exterior rendering can each be booked with us as a standalone job.