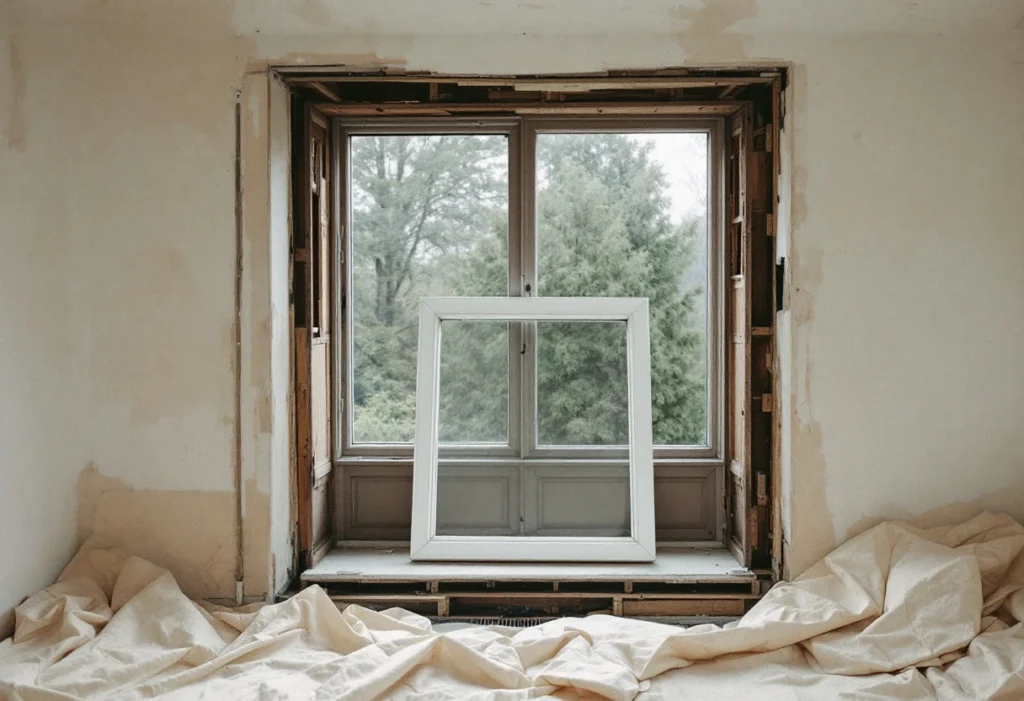
A new window looks like a simple swap, but the result depends on what was agreed first: who measured, which rules the window had to meet, how the room was protected, and how the plaster and render were left. Each is easier to settle before the work than after it.
This guide sets out what to agree at each stage of a window replacement job, from the survey to the clear-up. Whether to repair or replace, and what the work costs, are separate questions.
What to settle before the survey
Three things are worth knowing before anyone measures. The first is whether the change needs permission. New windows of similar appearance to those used when the house was built are usually permitted development, but a new bay window is treated as an extension. A listed building needs listed building consent for significant works, and an Article 4 direction can withdraw permitted development rights. Leaseholders may also need consent from the landlord or management company[2].
The second is that the work is controlled. Since 1 April 2002, Building Regulations have applied to all replacement glazing[1]. The new windows must meet the rules on energy efficiency, safety glass, escape and ventilation[1], which is why the survey matters.
The third is what you want to change. A new opening style, frame colour or glazing bars all change what is ordered, and can change the approvals.
How the replacement runs, step by step
1. The survey
This visit fixes the size and the specification of every window. Ask for it to cover each item below, room by room, and to be written down.
- Measurements. The size of each opening, measured on site rather than taken from old drawings. Where windows are made to order, these are the sizes they are built to.
- Opening type. How each window opens (side-hung, top-hung, tilt and turn or sliding sash) and which way. This affects escape, cleaning and furniture near the window.
Escape windows. Which windows must serve as an emergency escape, and whether each new one will open wide enough[3].
Safety glass. Which panes sit in a critical location, low down or in and beside a door, and so need safety glass[1].
Ventilation. Whether the existing windows have trickle vents, and how big they are[5].
- The opening itself. The lintel above, the brick or render around the frame, the cill, and any rot, cracks or movement.
The table shows the rules behind the checks. Some things cannot be seen until the old frame is out, such as a lintel hidden behind plaster. Before work starts you get a written scope from us, with the quotation. It states what is included, what is not, and what is provisional because it cannot be known until the work opens up.
Survey checks and the rules behind them
| Check | What the rule says | What it means for a replacement |
|---|---|---|
| Escape windows | In a house, each habitable room other than a kitchen needs an escape window or door, or a route out through a hall or protected stairway, depending on the storey[3]. The window needs a clear openable area of at least 0.33 m², at least 450 mm high and 450 mm wide, with the bottom no more than 1,100 mm above the floor[3] | If the old window would be an escape window in a new house and is big enough for escape, the new one should give at least the same potential for escape. If the old one was larger than needed, the opening can be reduced to the minimum[3] |
| Safety glass | Critical locations are any panel up to 800 mm from the floor, any glazed door up to 1,500 mm, and any side panel within 300 mm of a door edge, up to 1,500 mm[1] | Glass in a critical location must break safely, be robust or in small panes, or be permanently protected[4] |
| Ventilation | If the old windows have background ventilators (trickle vents), the new ones should include them, no smaller than before and controllable by the occupant or automatically[5] | If the old windows had none, and the house has no mechanical ventilation with heat recovery, ventilation must be no worse than before. One way is vents of at least 8,000 mm² equivalent area in habitable rooms and kitchens and 4,000 mm² in bathrooms[5] |
| Energy efficiency | A replacement window should be no worse than the one it replaces, with a U-value no higher than 1.4 W/m²K or a Window Energy Rating of band B or better[6] | The 2026 edition of the guidance, which takes effect on 24 March 2027, keeps the same limit[7] |
Scroll sideways to see all columns
2. Access and protection
Agree how the fitters will reach each window, what has to be cleared before the day, and who clears it.
- Curtains and blinds. Who takes down curtains, blinds and their tracks, and who puts them back. Brackets fixed into the old frame may need new fixings.
- Furniture and floors. How far back from each window things should go, and what covers the floor on the way in.
- Upper floors. How each window will be reached: from inside, from a tower or ladder, or from scaffolding, and who arranges it. If scaffolding goes up, agree where it stands and how it is made safe at night.
Whether you can stay in the house depends on the job, and we say so at the site visit.
3. The fitting scope
Write down what the fitting includes for each window, especially where the new frame meets the wall.
- Taking out the old frames. Whether whole frames come out, including any subframe, and how broken glass is kept out of the room.
Fixing and sealing. How the frame is fixed and how the gap between frame and wall is sealed inside and out. The guidance expects a new window to be well fitted and reasonably draught-proof[6].
- Cills. Whether the existing stone, brick or concrete cill stays or a new one is fitted, and whether the internal window board is replaced.
- Internal reveals. What finish the plaster at the sides and top of the opening gets: filled and sealed, replastered, or decorated.
- Trims and vents. Whether trims cover the joint, and where the trickle vents sit.
Anything that departs from the scope is agreed with you before it is built.
4. Security while an opening is out
A house with a frame out is open to the weather and to anyone passing. Agree the rule for the end of each day: every opening glazed, or boarded and secured, before the fitters leave. Ask when the keys for the new window locks are handed over. HSE guidance on protecting the public includes securing the site at the end of each day and removing access ladders from scaffolds[9]. If your home insurance has conditions about building work, check them before the start.
5. Making good inside and out
This means repairing what the work disturbed. It is easy to leave vague, so agree each part in writing.
- Plaster. Whether damaged plaster at the reveals is repaired, and to what standard: filled, skimmed, or ready for paint.
- Decoration. Whether painting is included or left for your decorator. If it is not included, ask when the repaired plaster will be ready to paint.
- Outside. How the joint between frame and wall is finished, and whether render or brick damaged around the opening is patched. Ask how closely a render patch will match the colour and texture around it.
- Cleaning. Whether labels and protective film come off, and the glass and frames are cleaned.
6. Clearing away the old frames
Citizens Advice suggests that the written agreement says how and when the trader will remove rubbish and clear up[10]. Agree that the old frames and glass are taken away, and that this is in the quotation.
7. Certificates and paperwork
The work is certified either by an installer registered with a competent person scheme, who issues a certificate within 8 weeks of completion[8], or through building control[1]. The guide to replacement-window paperwork explains which applies and what to keep.
8. Snagging and sign-off
Before you sign off, open, close and lock every window, and check the glass, seals, cills and reveals against the scope. List anything wrong in writing, with a photo. The guide to handover and snagging sets out how to run the list and what happens after it. At handover we give you the certificates and sign-offs that apply to the work done.
When the survey or the fitting turns up a problem
- The lintel or brickwork above is defective. This is what a provisional item in the scope covers. Agree the repair before work on that opening goes further, and ask whether it needs its own approval.
A new style will not open wide enough for escape. Change the opening type or hinge type before the order is placed. The replacement should give at least the same potential for escape as the old window[3].
The old windows had no trickle vents. The new ones still have to leave ventilation no worse than before[5]. Agree the vent positions at the survey rather than on the day.
- The making good is bigger than expected. Go back to the written scope, and agree any extra work before it is done.
What you should have at the end
Each window fitted to the surveyed size, opening the agreed way, with safety glass where the rules need it and vents no smaller than before. The joints sealed, the reveals and cills finished to the standard in the scope, and the old frames gone. A certificate, or a note of where it will come from, and a snagging list that is closed or has an agreed plan.